
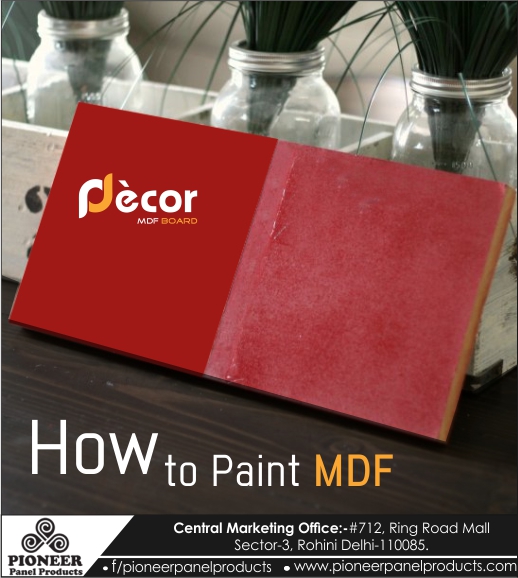
Step 1: Sand the MDF
When preparing MDF for painting, the first step is to sand it. Sanding the surface and edges using a good quality sandpaper removes any rough spots and protruding edges. Use a dry cloth to wipe away as much dust as you can. Follow this with a damp cloth to ensure all the dust is removed. Remember to wear a mask and eye safety equipment when sanding.
Step 2: Apply the first undercoat
Place a protective sheet below the MDF board and then place the MDF on saw horses. Remember to stir the undercoat thoroughly before pouring it into the paint tray. With the help of a paint roller, apply the oil-based undercoat across the MDF in an even manner. You can use a paintbrush or roller to paint the edges. Let it dry once you have painted the MDF.
Step 3: Apply the second undercoat
Repeat the process of sanding with a fine grit sandpaper once the first undercoat has dried. Wipe clean any dust remaining on the surface, then apply a second undercoat and let it dry.
Step 4: Paint the MDF
Once the second undercoat dries, repeat the sanding. Finally, it is time to paint the MDF. Bring out the rollers and apply the first coat of paint to the smooth surface and edges of the MDF. Leave it to dry and then apply a second coat of paint.
Step 5: Job completed
Your project is completed once the second coat has dried. Feel free to use your MDF in a vast number of applications. To know more about applications of MDF, click here.